Weni Chats: Introduction to the Chats module

Weni Chats
Chats is the official human support module of the Weni Platform. It was developed based on the needs and pain points of our clients, is natively available in all projects on the Weni Platform, and provides a self-service experience.
In the following sections, you’ll learn more about the concepts and functions of this module.
User Permissions
User permissions represent roles assigned to each user within the project. In the Chats module, they indicate the following roles:
- Agent
The user who utilizes the Chats module to handle support interactions. They have minimal system permissions and can only view the Chats module and the Dashboard with their individual metrics. Interactions routed to the agent are determined by the department and queue to which they belong. - Support Manager
This user manages the support groups in Weni Chats, with system permissions to view settings related to the department they manage. They can view contacts in the queues and handle interactions. On the Dashboard, they can view metrics for the department they oversee. - Administrator
This user has all permission levels, can create departments, and delegate support managers to departments. They have an overview of the entire operation on the Dashboard.
Features
- Contact Information
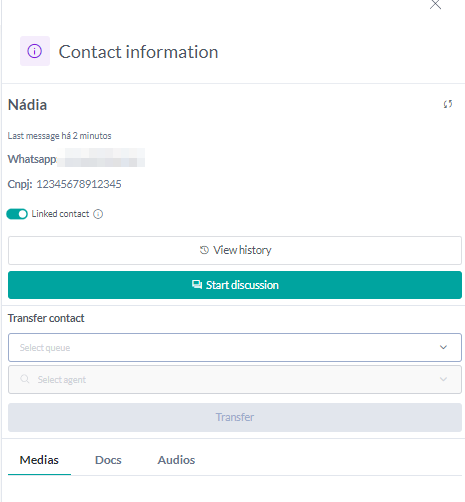
By clicking on the contact’s photo or name in any area of the conversation, you can access the contact information sidebar. This sidebar displays the contact’s profile photo in a larger size, data such as the communication channel the contact is using, the time of the last interaction, the option to transfer the chat, and the contact’s media gallery.
Quick Messages
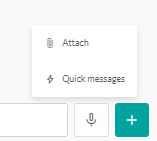
Quick Messages is a feature that allows you to register message templates for quick use. By clicking the Quick Messages button, the user can access the function's sidebar, where they can view, manage, and register new messages. A message can be used by either clicking on it or typing / followed by the message shortcut.
When the desired message is selected, the registered text fills the text editor field.
Quick messages can be used in two ways:
Sidebar Selection: As shown in the previous example, the agent opens the sidebar by clicking the Quick Messages button, then clicks the desired message.
Shortcut: When registering the message, the agent assigns a keyword as a shortcut. To use it with the keyboard only, the agent should type the / (slash) key followed by the shortcut word.

The user can navigate through messages using the arrow keys and press Enter to use a message. By typing the shortcut text, the tool also performs a specific search for that message.
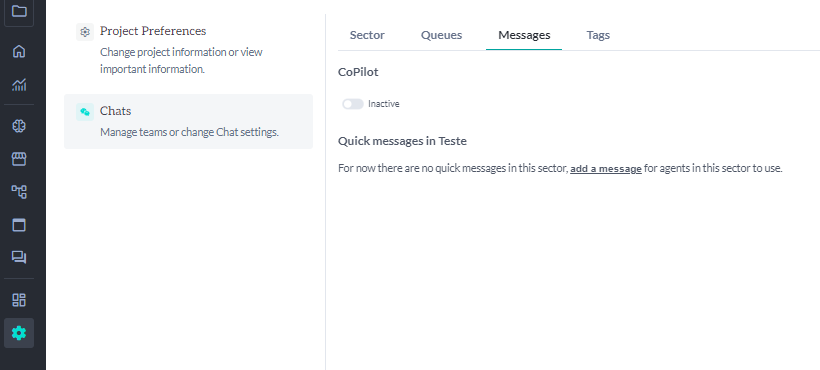
Quick Messages by Department
It's also possible to configure quick messages for each department. Managers can set up these messages when creating the department. See in the image:
Transfer Chat
The transfer chat function allows you to route the contact to a specific department, queue, or agent. This function can be accessed in the contact information area.
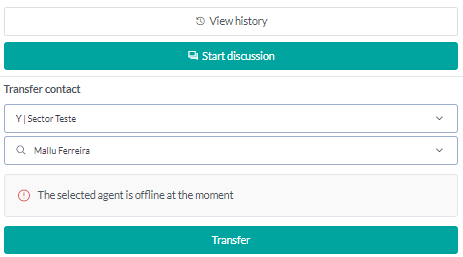
The user can search by the name of an agent, queue, or department, or select a recipient from the list that opens. Once the transfer is confirmed, the contact is routed to the chosen recipient.
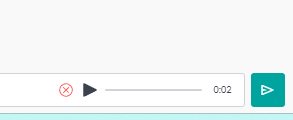
Record and Send Audio
Using the buttons in the text box, the user can record an audio message and send it. Before sending it to the contact, the user can play back the audio and then proceed to send it.
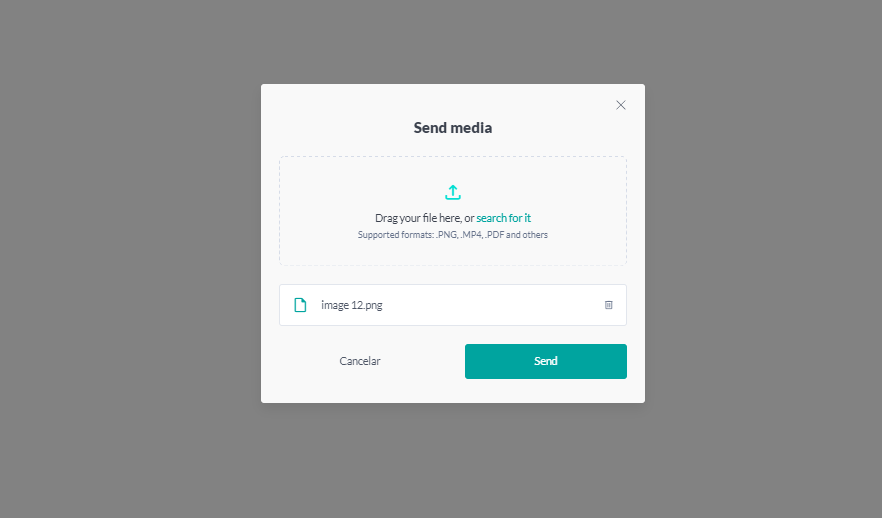
Drag and Drop Files
You can drag files into the text box, and Ctrl + V is enabled to paste image files directly without needing to attach them.
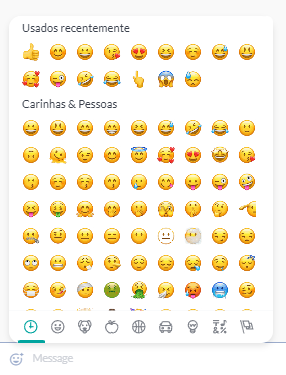
Emojis
Emojis can make communication more engaging, as they help convey tone and intent. Weni Chats offers a full emoji panel. See the image below:
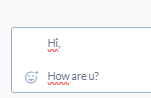
Text Break
You can press Shift + Enter to create line breaks, which can help organize your message. See the image below:
Dashboard
To simplify locating chat histories, Chats currently offers two types of filters:
Tag Filter: Allows you to select tags and search for chats classified with those tags.
Date Filter: Enables you to specify a time period or specific date to search through histories.
There is also a Clear Filters button to reset the search.

View History
The user will see the list of Chats in chronological order, from most recent to oldest. In this list, you can view the contact’s photo, name, the agent who handled the interaction, tags used for classification, date, and a button to open the chat.
When viewing the contact’s history, the agent can see the start of the interaction, the chat history with the bot, chat events, and finally, the tags used to classify the chat.

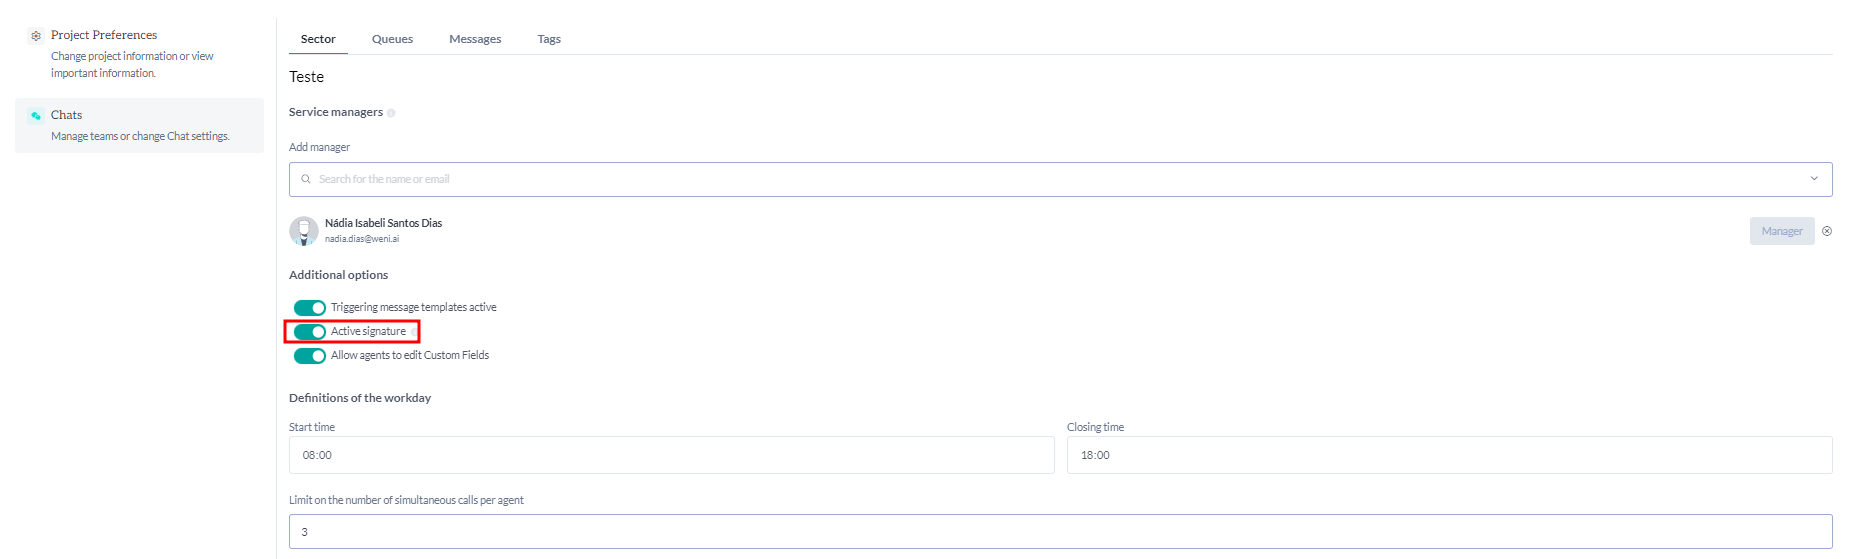
Active Signature
You can enable an active signature so that each message exchanged includes the name of the agent responding. To activate this function, go to Settings > Chats. Then, select the department you want to configure. Once inside the department, go to Additional Options and select Active Signature. See the image below:
After enabling this option, the agent's name will appear in the message bubble followed by a colon, as shown in the image below:
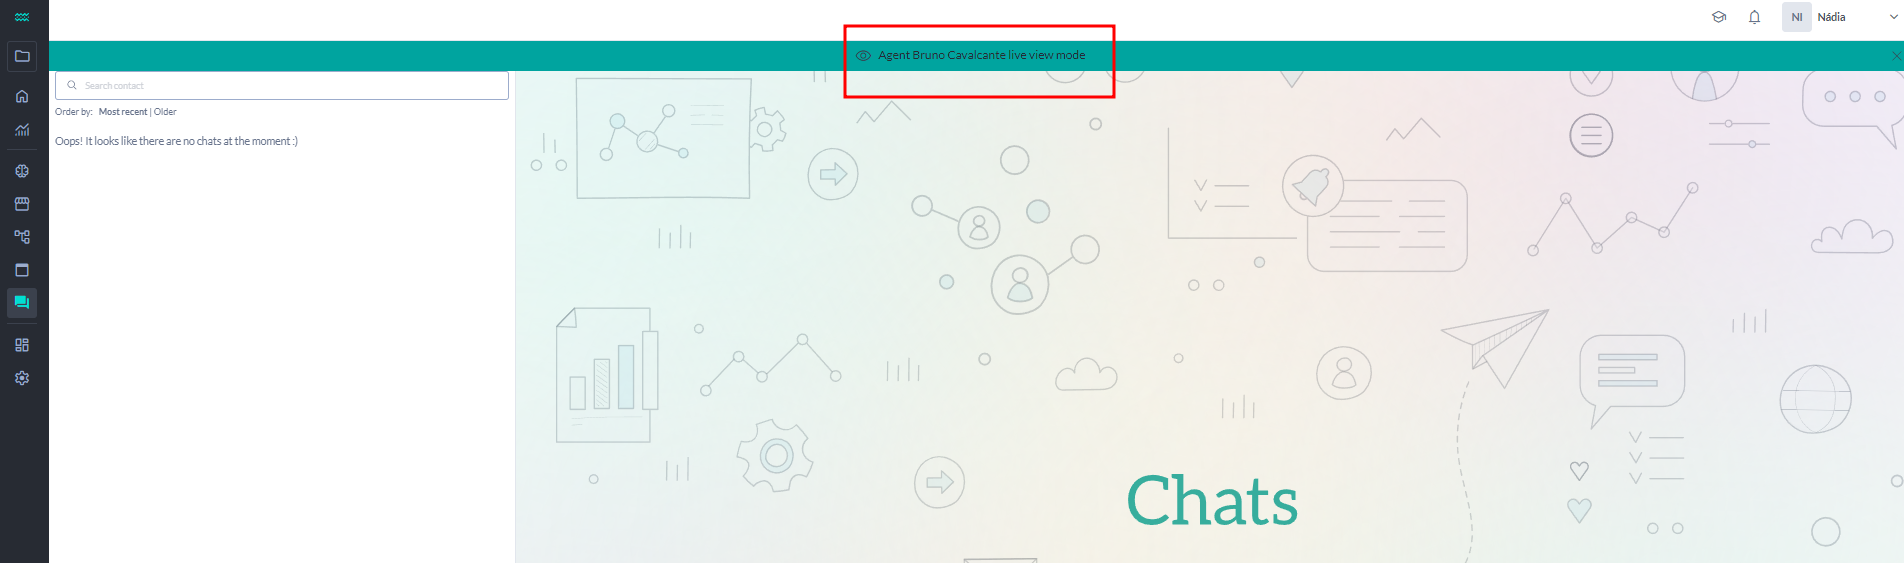
Viewing Mode
By clicking on an agent's name in the dashboard, you open the viewing mode for that agent's interactions. This allows for an overview of the details of each interaction handled by the agent, and a manager can take over a chat at any time by transferring the interaction to themselves.
Browser Notification
Since some of our clients choose not to activate sound effects, we have also introduced browser notifications. To enable this, allow notifications in your browser settings, so you’ll receive alerts as shown in the image below.
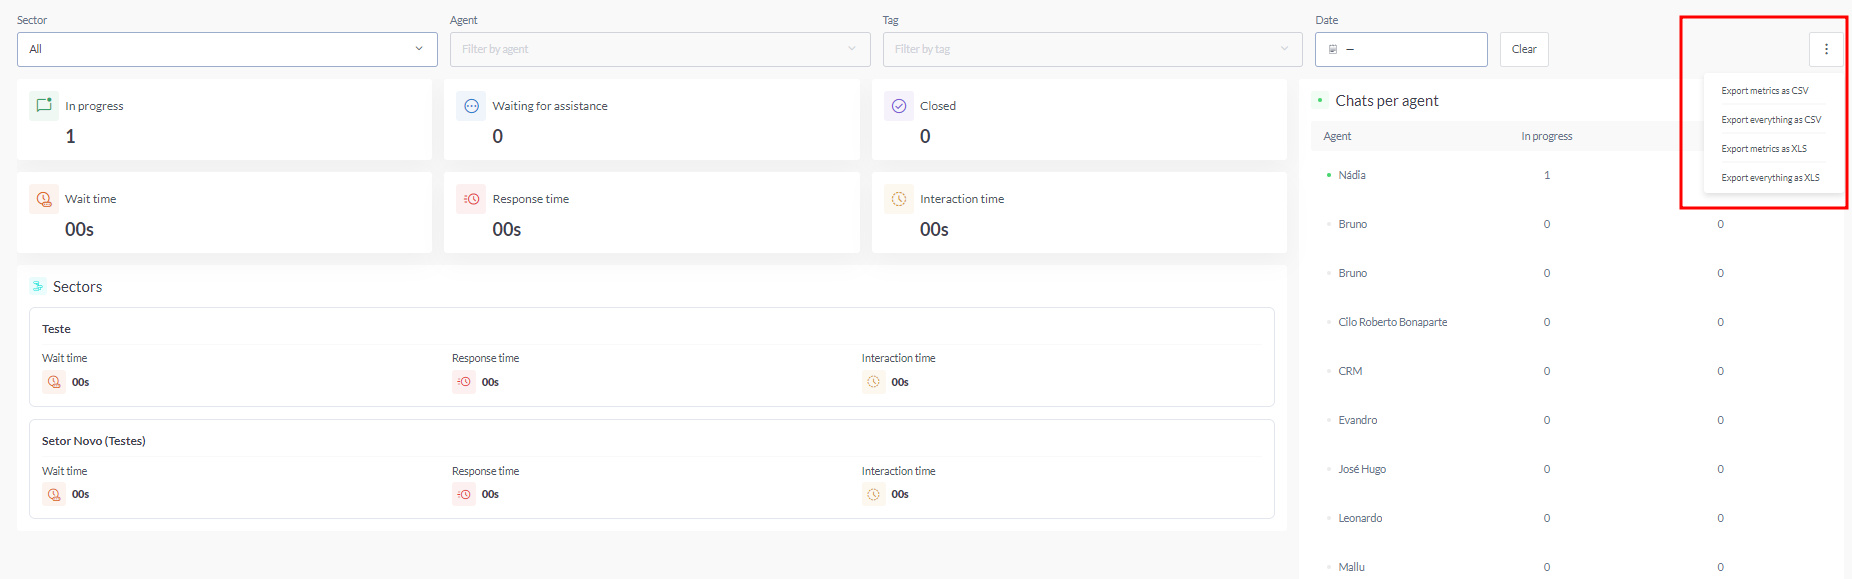
Dashboard Spreadsheet
In addition to having a dashboard available, you can also download it in Excel format. See the image below:
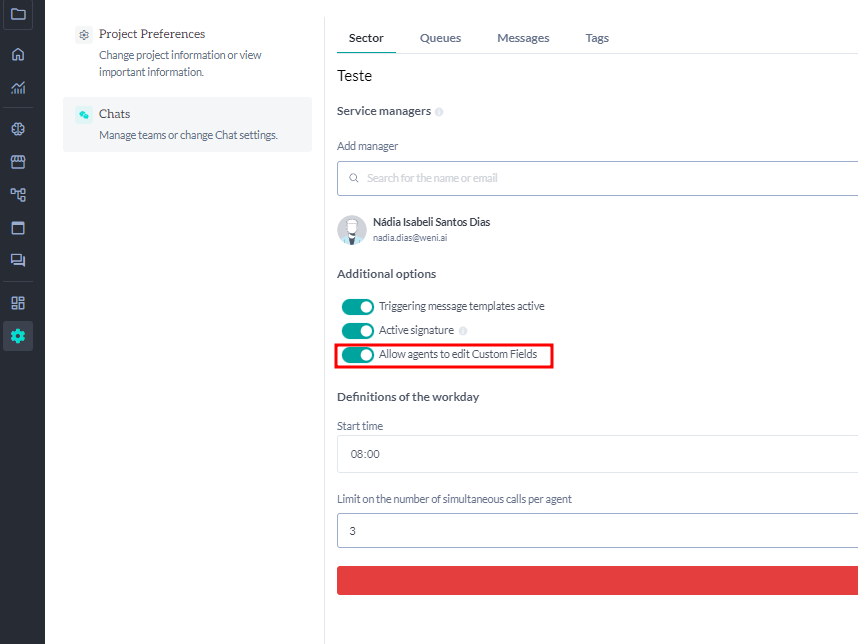
Editing Contact Fields
If needed, the agent can edit the customer's contact fields, which is especially useful for correcting incorrect data or updating information. To enable this editing function, go to Settings and select Departments. Open the department and activate the Custom Fields Editing function, as shown in the image below.
To make this edit, simply click on the contact's name. A right-side panel will display the contact information, and then click on the data field to enter the updated information. See the following image: