Initial concepts
So, what we can do with the Platform?
Register and login
First Steps - Creating your project
Profile
Permission System
Project Dashboard
Platform Glossary
Changing the Platform Language
2-Factor Authentication
Invalid authentication code
Artificial Intelligence
Human Attendance
Weni Chats: Introduction to the Chats module
Weni Chats: Human Service Dashboard
Weni Chats: Attendance distribution rule
Weni Chats: Using active triggering of flows
Using groups to organize human attendance
Studio
Contacts and Messages
Groups
Messages
Triggers and Campaigns
Adding a trigger
Triggers Types
Tell a flow to ignore triggers and keywords
Campaign introduction
How to create a Campaign
Editing events
Creating contact from an external Webhook
Contact history
How to Download and Extract Archived Data
Integrations
Settings
How to connect and talk to the bot through the settings
Adding a Facebook Channel
Adding a Viber channel
How to Create an SMS Channel - For Developers (RapidPro)
Web Chat Channel
General API concepts and Integrations
How to create a channel on twitter
How to create a channel on Instagram
How to create an SMS channel
Adding ticket creation fields in Zendesk
Adding Discord as a channel
Creating a Slack Channel
Adding a Viber channel (RapidPro)
Creating a Microsoft Teams channel
Weni Integrations
How to Use the Applications Module
How to Create a Web Channel
Adding a Telegram channel
How to create a channel with WhatsApp Demo
Whatsapp: Weni Express Integration
Whatsapp: How to create Template Messages
WhatsApp Template Messages: Impediments and Configurations
Supported Media Sending - WhatsApp Cloud
Zendesk - Human Support
Ticketer: Ticketer on Rapid Pro
Whatsapp Business API
Active message dispatch on WhatsApp
Whatsapp business API pricing
How to Verify My Business
Whatsapp Bussiness API: WhatsApp message triggering limitation
Regaining Access to Business Manager
Webhook Configuration: Message Delivery Status
The Basics of Integrations
Native ChatGPT Integration
Native Integration - VTEX
General settings
General Project Settings
Weni Chats: Setting Up Human Attendance
Weni Chats: Human Service Management
Flows
Expressions and Variables Introduction
Variables Glossary
Expressions Glossary
Flows Creation
Flows introduction
Flow editor and tools
Action cards
Zero Shot Learning
Decision cards
Adding Media to the message
Call Webhook: Making requests to external services
Import and export flows
Using expressions to capture the user's location
Viewing reports on the platform
Route markers
WhatsApp Message Card
UX Writing
- All Categories
- Initial concepts
- First Steps - Creating your project
First Steps - Creating your project

Getting Started - Creating Your Project
During the registration and login step, you already created your first organization and project. To add a new organization, simply click on "Create Organization" button.
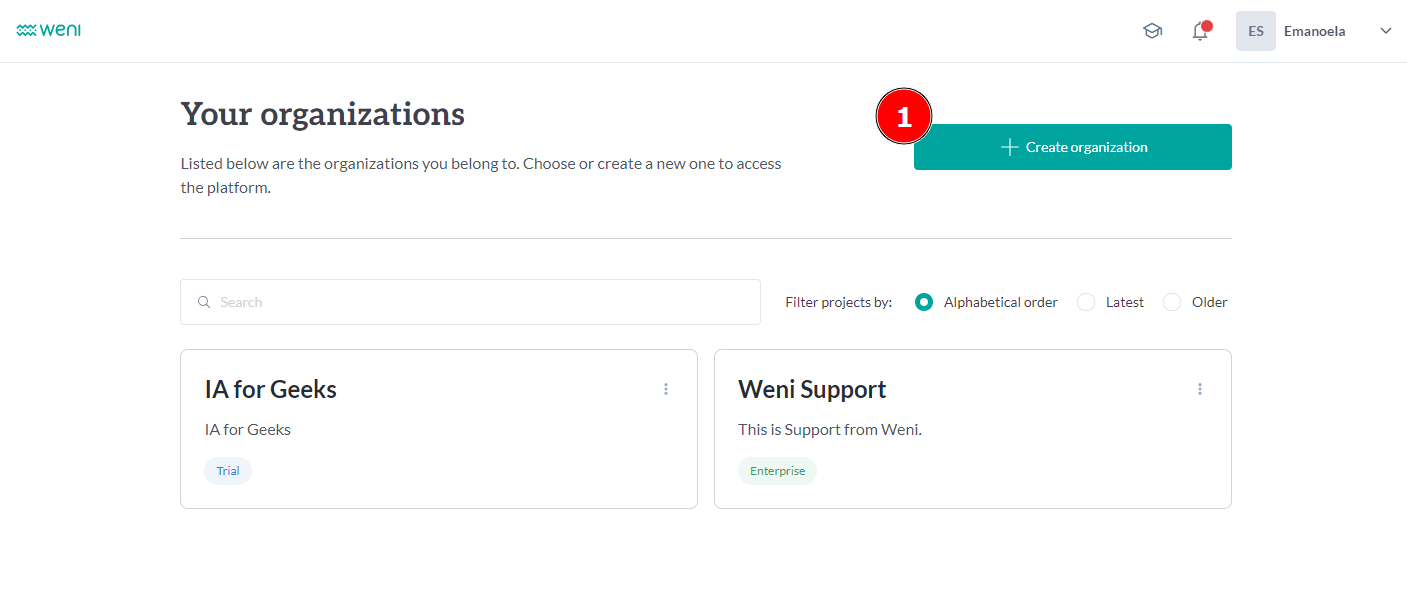
Here, you will need to enter the following information:
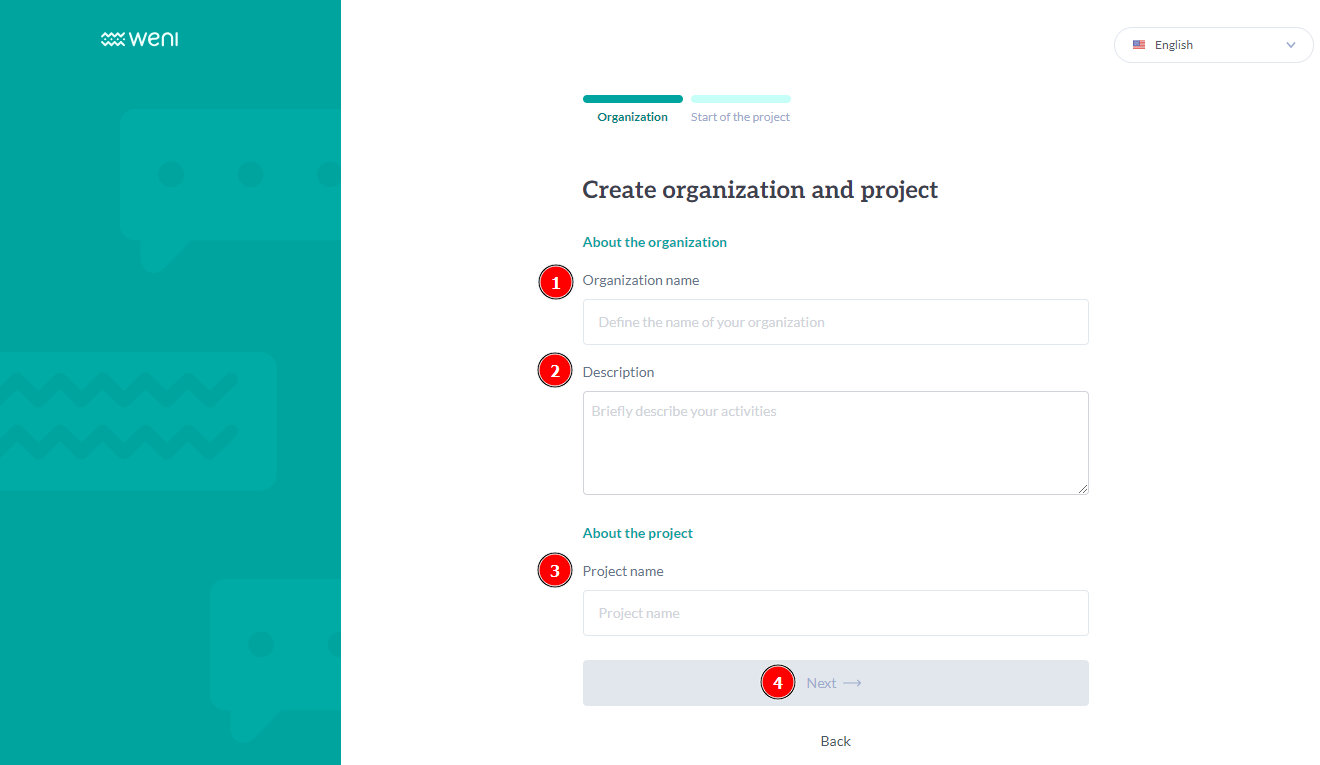
- Organization Name: This will be the name that appears on the home screen.
- Description: A brief description of your team and activities.
- Project Name: The name you will assign to your project to differentiate and organize it.
- Next
After filling in the fields above, click the "Next" button and proceed to the next step to create your project. You can choose between creating a custom agent or using a template. To start by creating an agent, simply fill in the following fields:
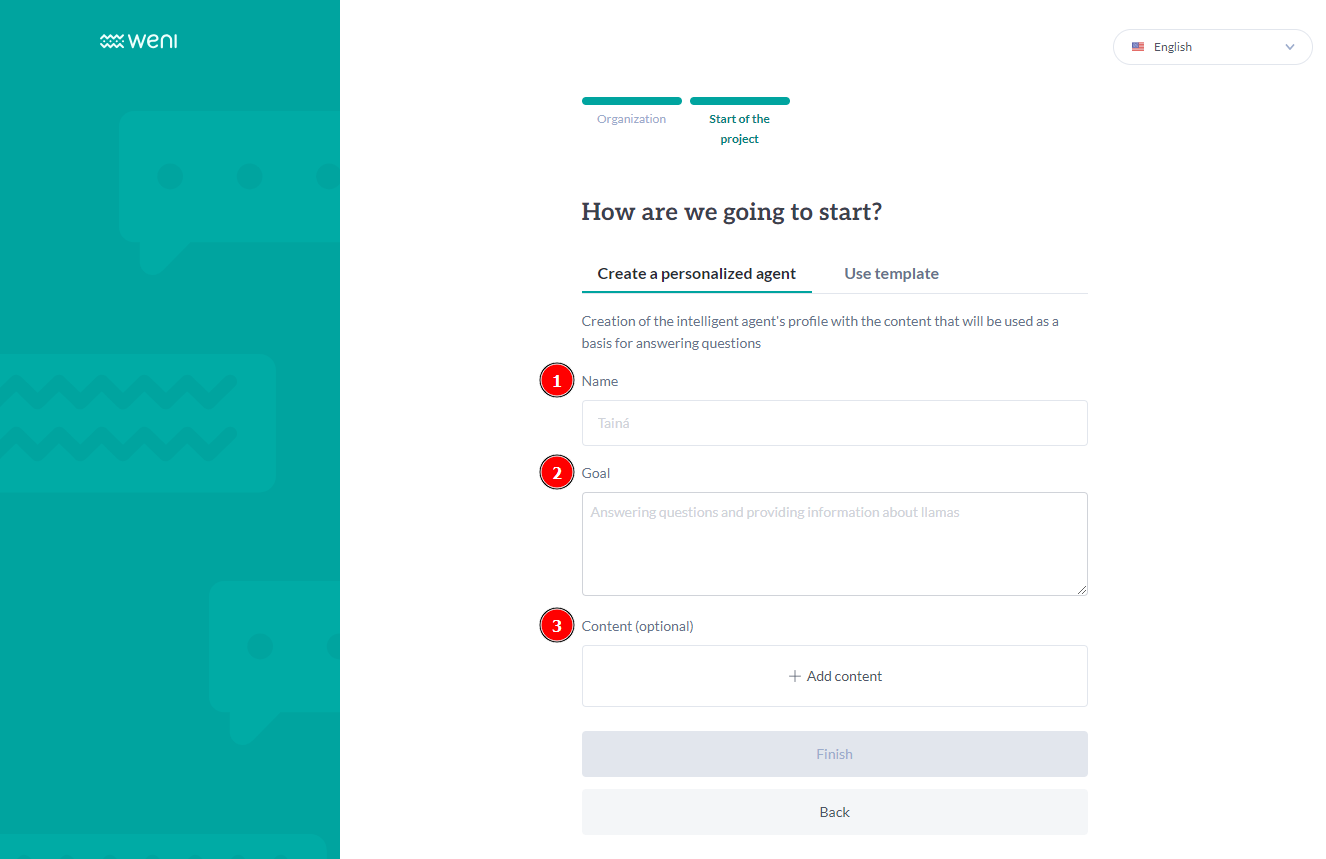
- Agent Name;
- Goal;
- Content (Optional).
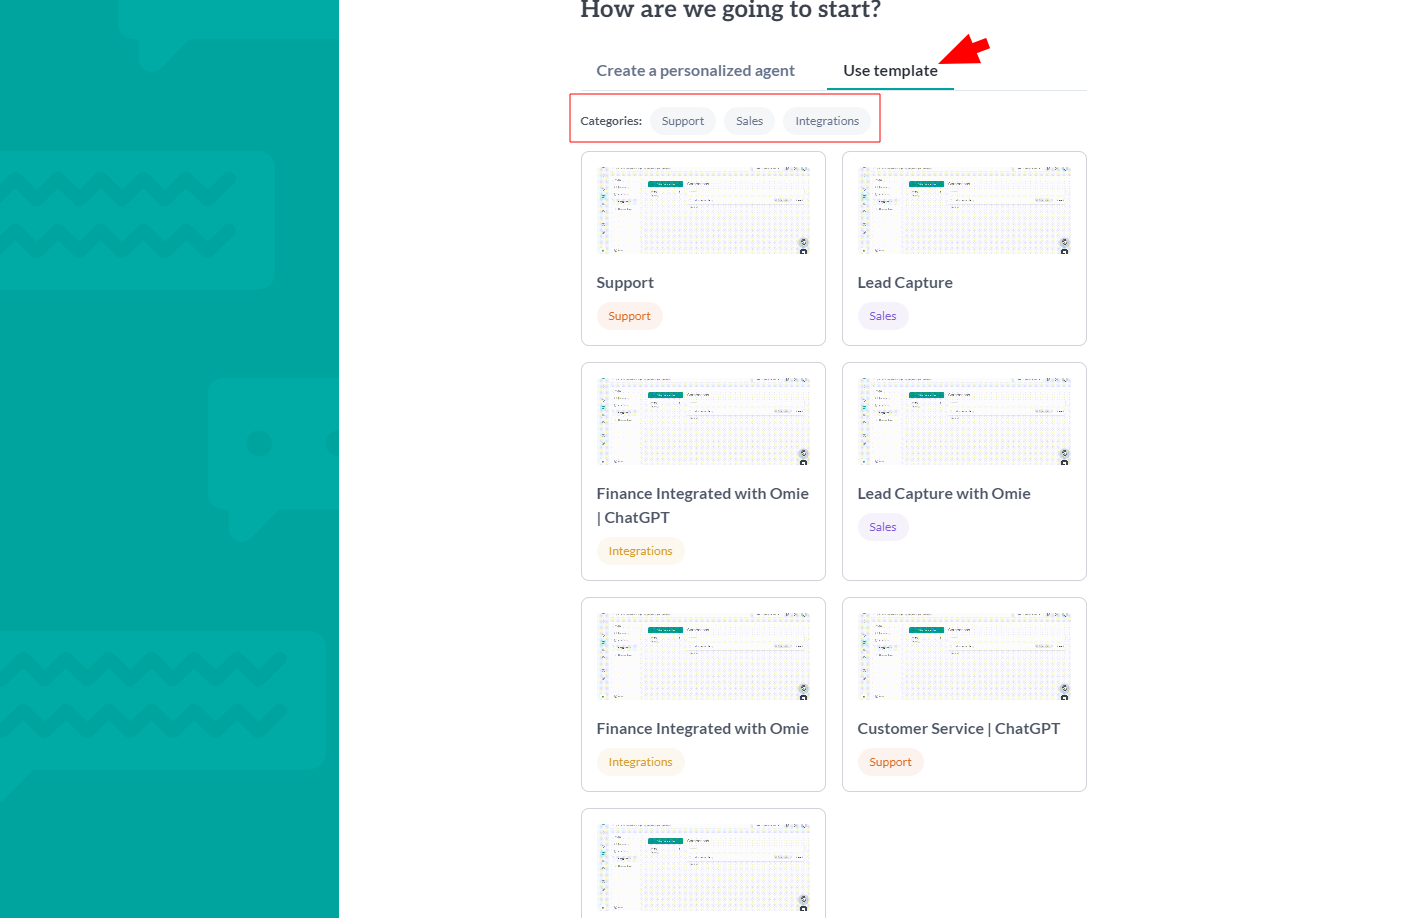
Templates are pre-built flows with specific purposes, divided into three categories: support, integrations, and sales. When you click on any of the cards related to a template category, a pop-up will appear detailing its general use.
Choose between creating a personalized agent or using a template to complete the final step of your project. Dóris will appear on your screen, indicating that your project was successfully created. See the image:

After following the steps to create an organization and project, you can start adding your team by configuring permissions.
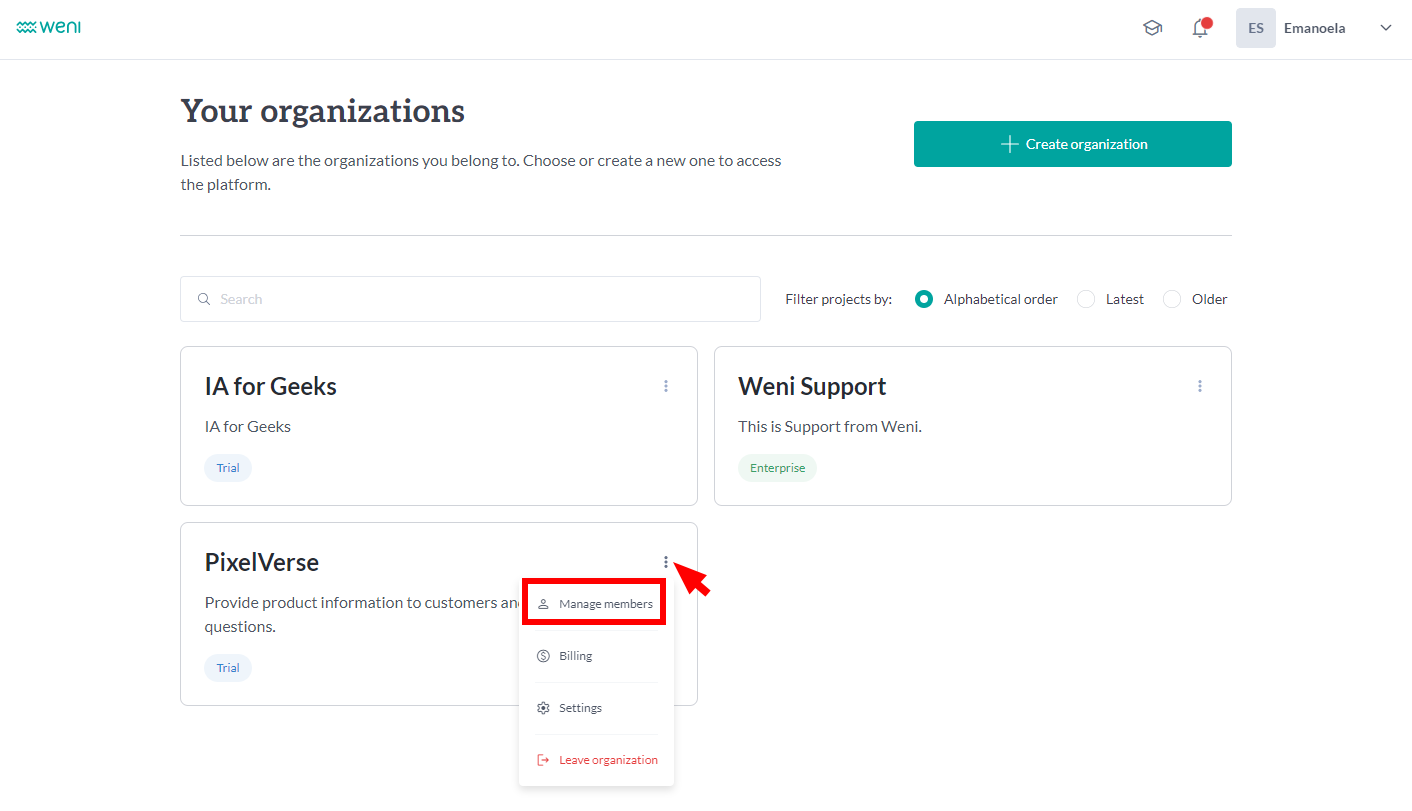
Add members to your organization by clicking the dropdown menu and then "Manage Members." See the image:
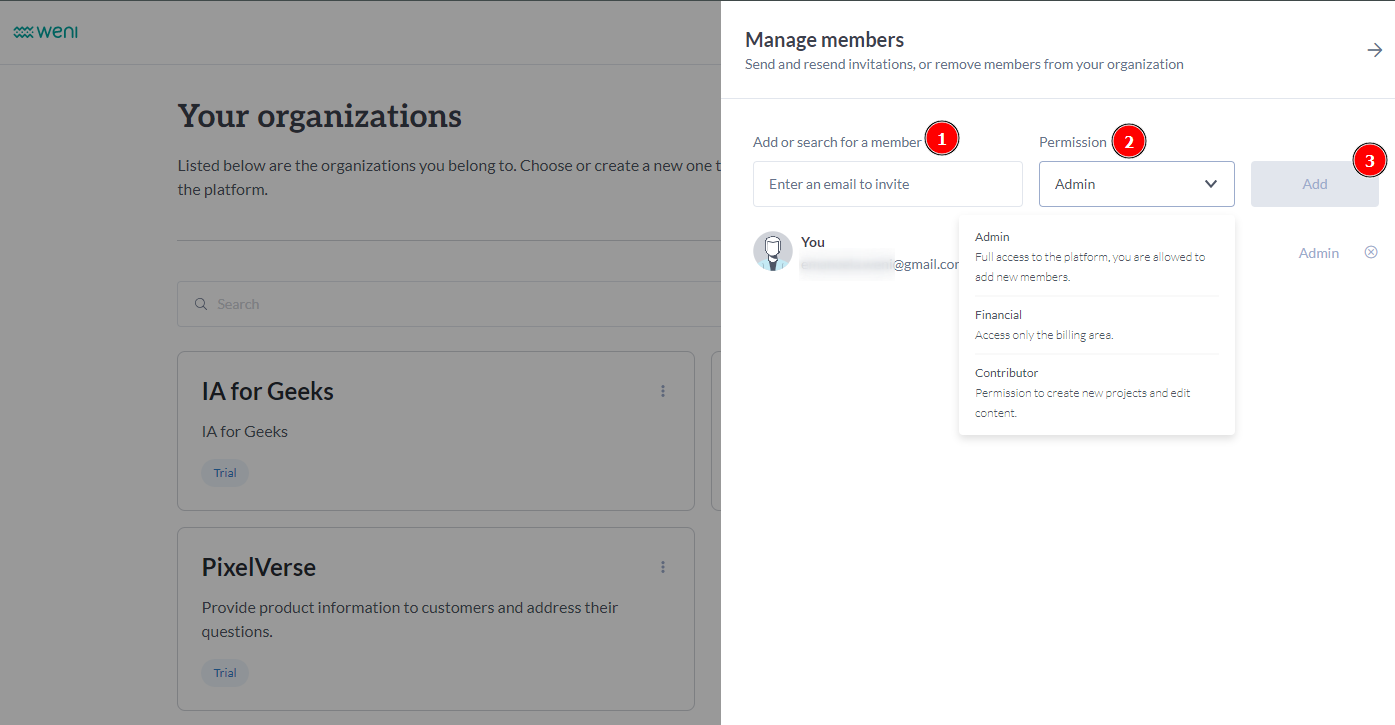
(1)Enter the email of the person you wish to invite and click "Add" (1). Set the permission (2) for each person as needed. Once you're done, you can click the "Add" button.
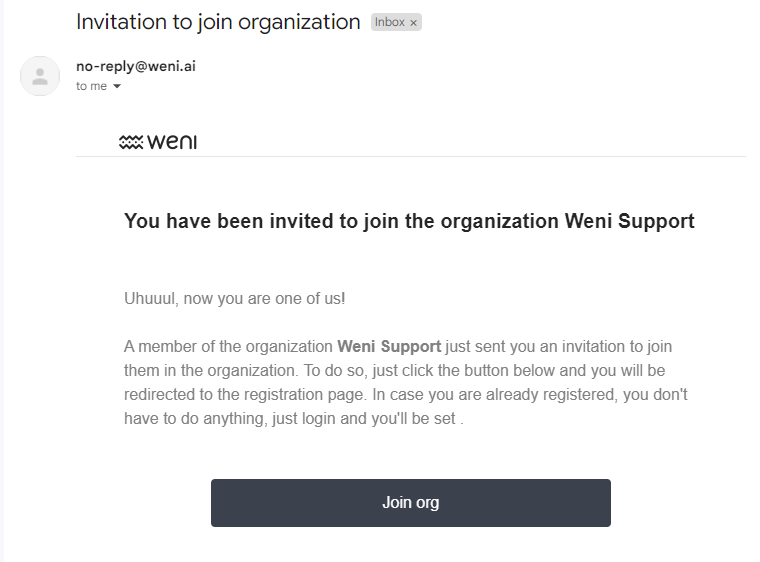
The members you add will receive an invitation email to join the organization. See the image:
After creating your organization, project, and adding your team members, you'll be ready to fully leverage the potential of the Weni Platform.