Initial concepts
So, what we can do with the Platform?
How do I know if my company needs a chatbot?
Register and login
First Steps - Creating your project
Choose your plan
Profile
Permissions system
Project Dashboard
Platform's Glossary
2-Factor Authentication
Invalid authentication code
General settings
Artificial Intelligence
Weni Brain
Zero Shot Learning
WeniGPT
What is the Weni Platform's AI Module?
Overview
What is an Intelligence?
Intents and Entities
Hands-on
Creating an Intelligence
Training your Intelligence
Intelligence Force
Tests
Inbox
Translating your dataset
Share your AI with translators
Requesting authorization
Versions
Settings
Integration
Integrate an intelligence to your project in the Weni Platform
Introducing the Content Intelligence
Integrating a Content Intelligence
Updates
Glossary
Guidelines and Good practices
Flows
Expressions and Variables Introduction
Variables Glossary
Expressions Glossary
Flows Creation
Flows introduction
Flow editor and tools
Action cards
Decision cards
Adding Media to the message
Call Webhook: Making requests to external services
Split by Intent: Using Classifiers
Import and export flows
Using expressions to capture the user's location
Viewing reports on the platform
Route markers
Studio
Contacts and Messages
Groups
Messages
Triggers and Campaigns
Adding a trigger
Triggers Types
Tell a flow to ignore triggers and keywords
Campaign introduction
How to create a Campaign
Editing events
Creating contact from an external Webhook
Contact history
How to download, extract, transform and combine archived data from Weni Flows
Channels
Settings
Channels Introduction
Adding a Facebook Channel (RapidPro)
Adding a Viber channel
How a SMS Integration Works
General API concepts and Integrations
How to create a channel on twitter
How to create a channel on Instagram
Main steps to active Whatsapp for UNICEF
Adding Discord as a channel
Creating a Slack Channel
Adding a Viber channel (RapidPro)
Creating a Microsoft Teams channel
Weni Integrations
How to use the integrations module
Adding a Web channel
Adding a Telegram channel
How to create a channel with whatsApp demo
Whatsapp: Weni Express Integration
How to create template Messages: Whatsapp
Creating a Microsoft Teams Channel
Whatsapp Business API
Integrations
Human Attendance
Weni Chats: Introduction to the Chats module
Weni Chats: Setting Up Human Attendance
Weni Chats: Human Service Dashboard
Weni Chats: Human Service Management
Weni Chats: Attendance distribution rule
Weni Chats: Using active triggering of flows
Weni Chats: CoPilot
Ticketer: Ticketer on Rapid Pro
Ticketer: How to integrate Rocket.Chat as a ticket service on the Weni Plataform
How to send message templates through RocketChat
RocketChat call routing
RCAdmin API: Agent-Activity
U-Partners - Proper use of features
Using groups to organize human attendance
Data and BI
How to Install and Use the Weni Data Connector for Power BI
Incremental Update - Power BI
Explore Weni's Database Documentation
Tips for Data Modeling in Power BI
Filter using Contact Fields in Power BI
UX Writing
- All Categories
- Initial concepts
- First Steps - Creating your project
First Steps - Creating your project
First Steps - Creating Your Project
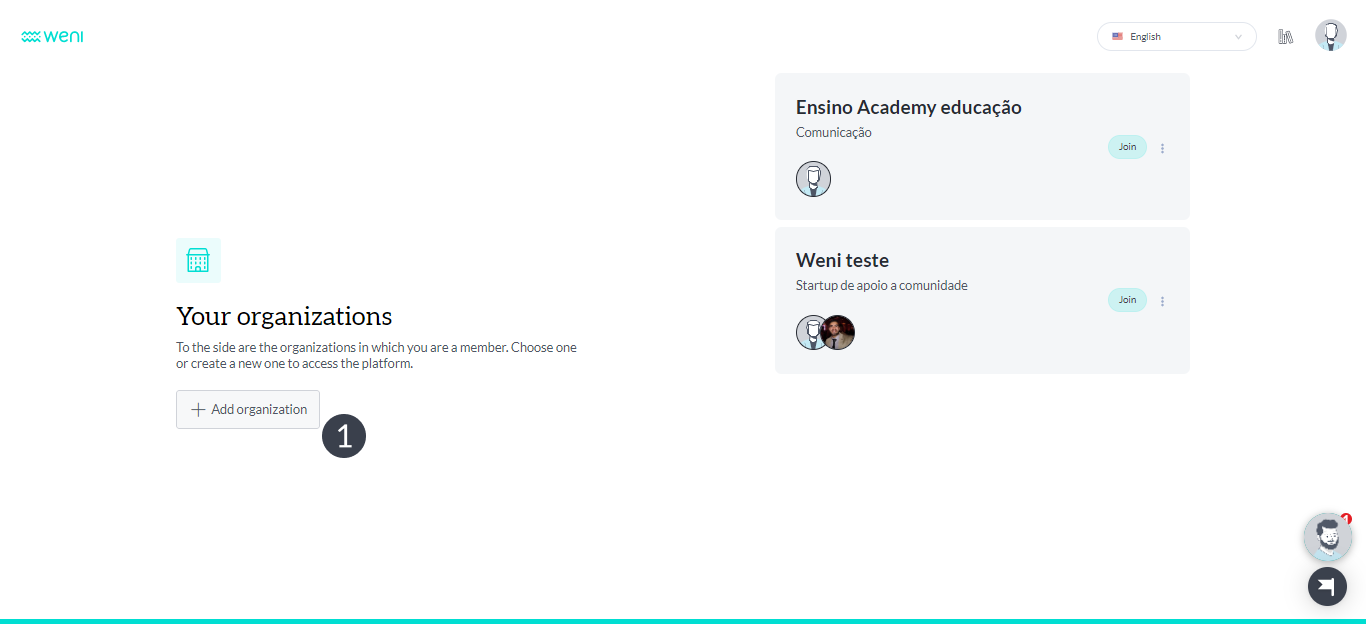
Now you're ready to start! To do this, the first step is to create your Organization and add a Project to it.
Inside the platform, click the add an organization button (1)
Here, you must enter the following information:
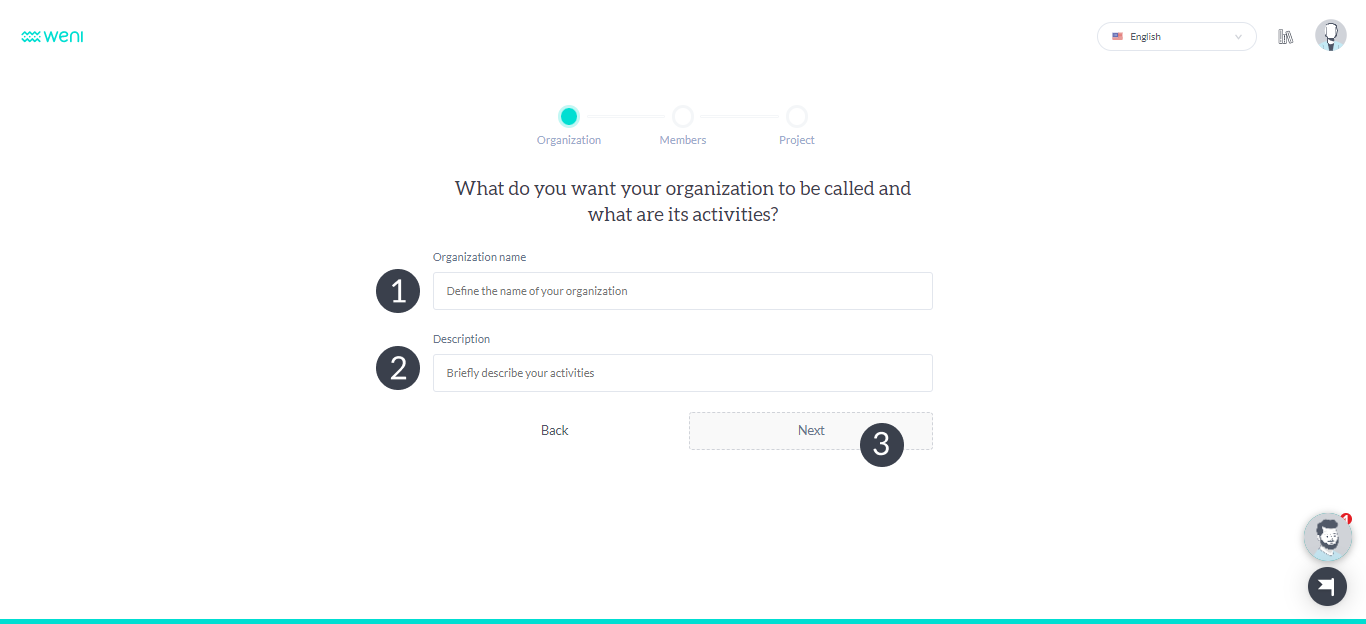
- Organization Name: This will be the name that will appear on the home screen
- Description: A brief description of your team and activities.
After you set your Org, the next step is to add members to it. People added to Org will have access to all projects created within it. To learn more about the permissions system, click here.
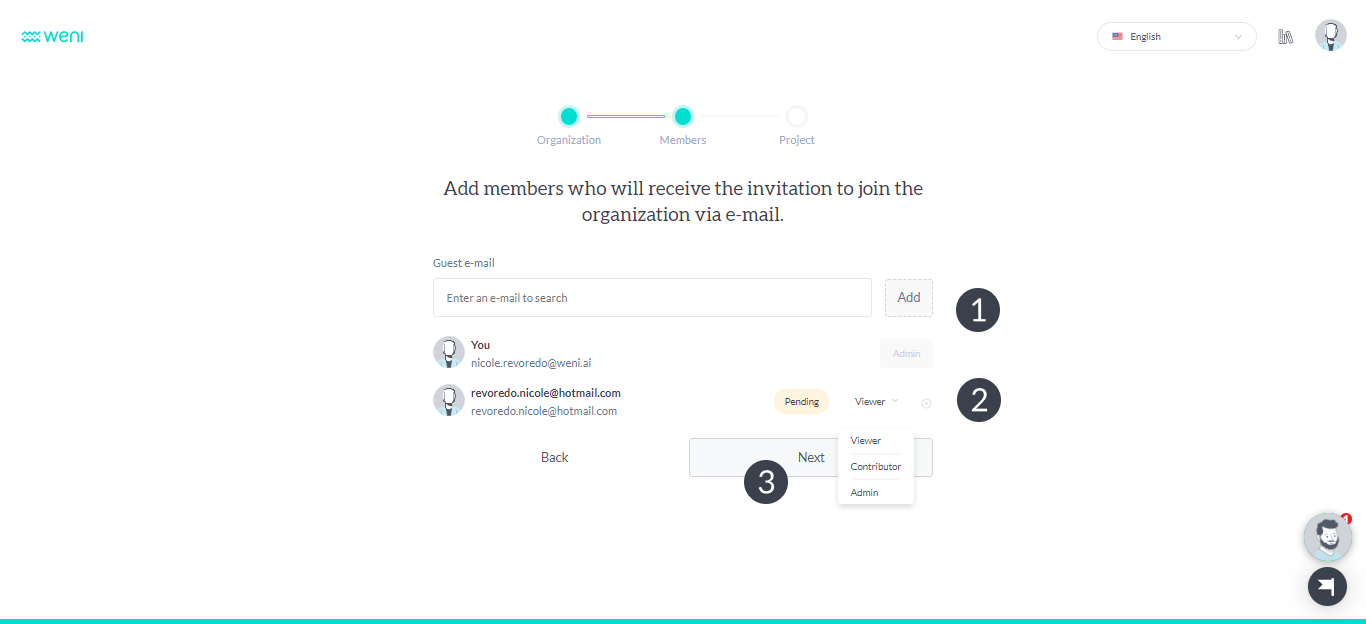
To add members, Enter the email of the person you want to invite and click add (1) . You can also change the permissions of each person as you wish (2). When you're done, you can click the "Send invitations and forward (3)" button.
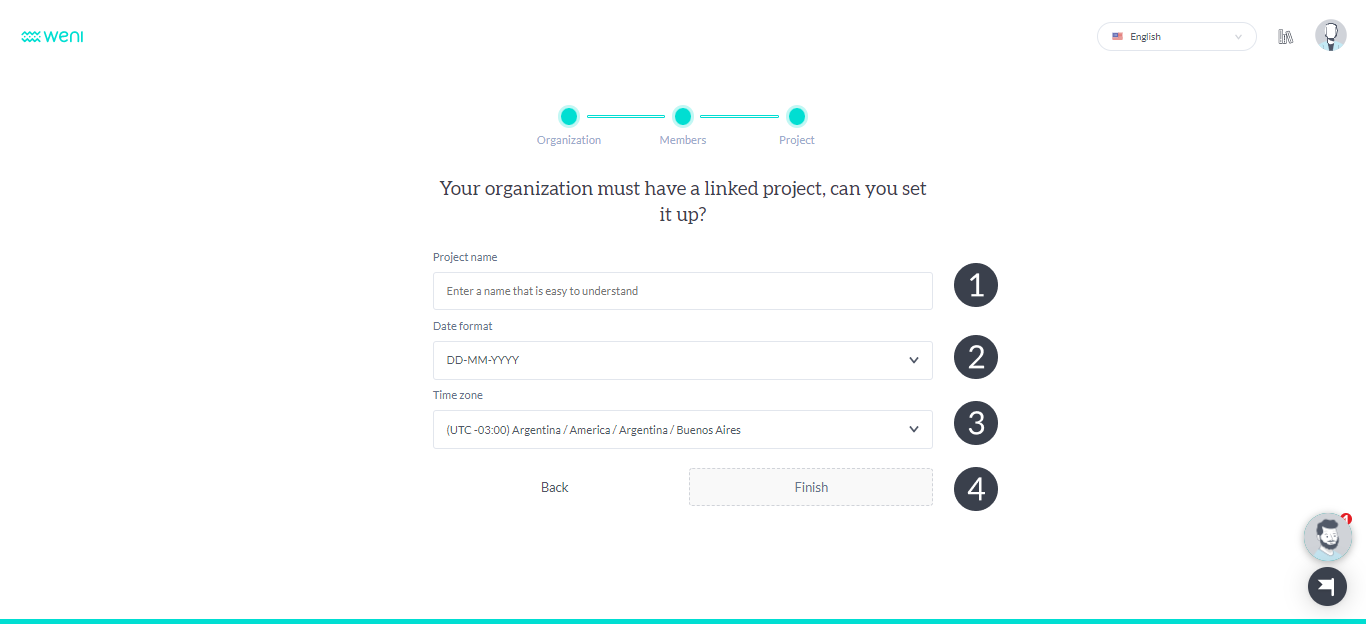
With the organization created and members added, you must now create a project. In this step you should provide the following information:
- Project Name
- Date format
- Timezone: Sets the time zone that your organization will use. We recommend using timezone America/Sao_Paulo as standard.
By clicking Complete (4), you will be ready to use all the tools of the platform!