Creating a Microsoft Teams Channel
 Updated
by Bárbara Ramos
Updated
by Bárbara Ramos
App creation in Azure
- To create your bot-like application go to https://azure.microsoft.com/en-gb/ You will need to create an account, if you do not have one.
- After logging into your account, select Create a resource.
- Search for Azure Bot in the search box.
- Select Azure Bot.
- Select Create.
- Enter the identifier name for the bot in the identification field.
- Select your signature in the list. By default, a created signature will appear.
- Select your resource group or create a new one.
- If you want to create a resource group, select Create new, enter the resource name, select OK, and select the required location from the New Resource Group Location drop-down list.
- Select app type, we recommend Multi Tenant. After that, select Review + Create.]
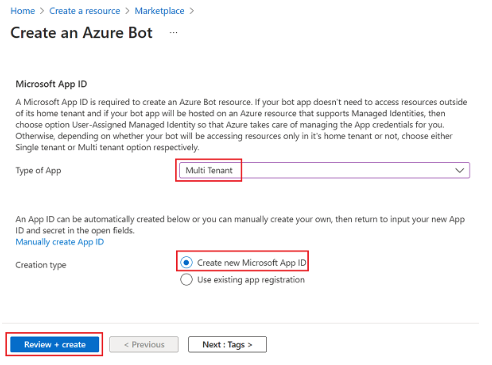
- Select Create if the validation passes. It takes a few moments for your bot service to provision.
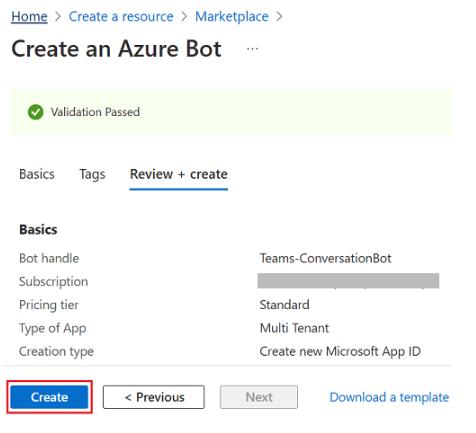
- Select Go to Resource. Your application is now created!
Creating the client secret
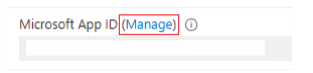
- Under Settings, select Configuration. Save the Microsoft App (Customer ID) for future reference.
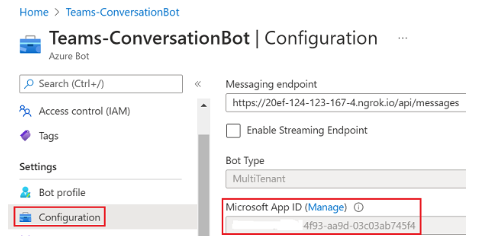
- Select Manage next to Microsoft App ID.
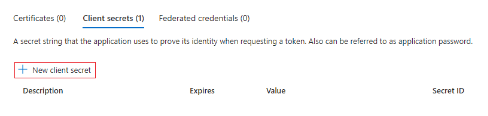
- In the Client Secret section, select New Client Secret. The Add a Client Secret window appears.
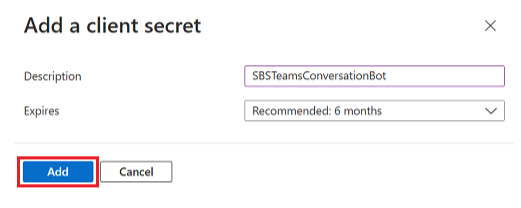
- Enter a Description and a period for the secret to expire, and select Add.
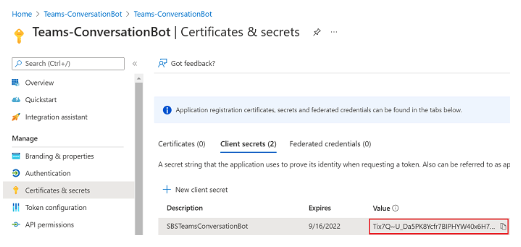
- Select Copy to Clipboard in the Value column and save the client secret ID for future reference.
- It is necessary that you search for one more data that you will need to create the channel on the Weni Platform. To do this, go back to Home and select your bot. Go to Overview, in the left menu, and after that select JSON View. It will open a .json file with some information about your application. Search for tenant id and save the value.

Adding the Microsoft Teams channel
- Go to the Home page.
- In the Recent Resources section, open your bot.
- Select Channels in the left pane and select Microsoft Teams from the list of available channels.
Setting up the bot profile
- If you wish, you can configure the bot's profile. To do this, in your bot, go to Bot Profile in the menu on the left and configure it as you wish. You can add profile pictures and other information.
Adding the Microsoft Teams channel in your bot

- Select the check box to accept the terms of service and select Agree.
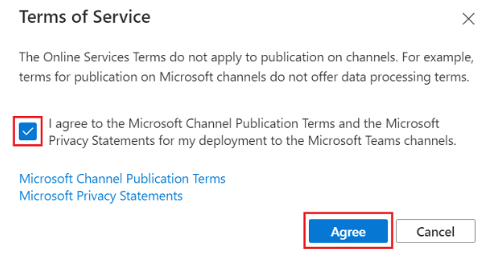
- Select Save.
Creating a channel on Weni's platform
- After logging into the platform, choosing the organization and project, go to Integrations > Other Apps.
- Select Add Channel.
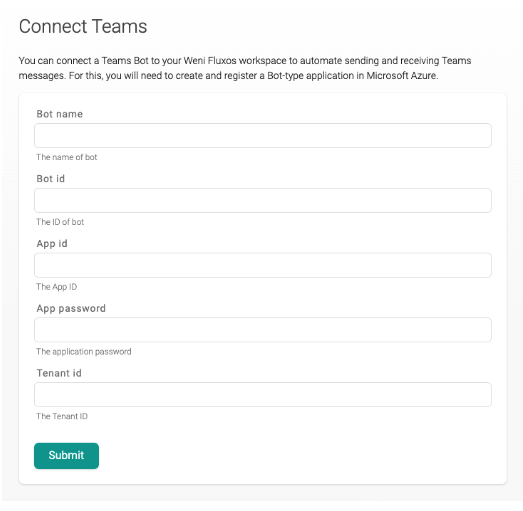
- In the channel list, select Teams.
- To connect this channel, you will need the information about the app you created earlier (Bot name, Bot id, App id, App password and Tenant id)
- Enter the name you gave your bot when creating the app in the Bot name field.
- In Bot id put the App ID that you saved earlier when creating the application.
- In App id enter the App ID again.
- In App password enter the Client Secret you created earlier.
- In Tenant id enter the value of tenant id that you saved earlier.
- Now click Submit.
Your channel has been created!
- On the channel page that you will be sent to right after you click Submit, you will have the ID of that channel and we will need this value. To get it, you can copy the huge ID that you will have at the end of the url of this page. After read/, copy all this id formed by numbers, letters and dashes. Keep it.

Configuring the endpoint in the application
- Return to Azure. On the Home page, select your bot in Recent Resources and after that go to Settings in the left menu.
- In Endpoint add the url below, in [CHANNEL ID] add the ID you saved in the previous step.
- https://new.push.al/c/tm/[CHANNEL ID]/receive
- Ex: https://new.push.al/c/tm/37b755f9-2d97-48fd-8c46-6f0f4d102d16/receive

Configuring the bot in Microsoft Teams
- In the lower left corner, select Applications.
- Use the search bar on the left and search for App Studio. Select it and install. Then click open.
- Select Create a new App.
- In App Details, enter all the data you already have.
- In Identification enter the App ID, in Package name enter a name that references your app (e.g. com.microsoft.teams.devapp)
- In Version, use something like v1.0.0
- In Description put the description for your application, inform what it does and for whom, for example.
- In Developer Information, enter your company data, such as name and website.
- In App URLs enter the url of your company's privacy terms and in terms of use enter the url of your terms.
- In Branding you update the profile images you want your bot to have, click update and choose your images.
- In step 2, in Capabilities, you will be able to configure some specifications for your bot, it is not necessary for your bot to work together with our platform, so we will skip this step.
- Now in step 3 of the left menu, click on Domains and Permissions.
- In Valid Domains, enter the domain of our platform so that your bot can integrate with us (https://new.push.al) and click Add.
- In AAD App ID enter the Tenant ID that you saved earlier.
- Now in the last step, click on Test and Deploy in step 3 of the left menu.
- You will be able to publish your bot in your organization's catalog, with this, everyone who participates in your organization will be able to add your bot and thus be able to exchange messages with it. To do this, click Publish app to my organization's catalog and click Submit.
Important: In order for your app to be published in your organization's catalog, it must be accepted by your organization's IT administrator. Once accepted, your bot will be available for installation in your company's catalog for all employees who are part of it.